Audio technology shapes how people listen to music, record podcasts, produce films, and communicate every day. Learning how to audio technology works gives users control over sound quality and equipment choices. This guide breaks down the fundamentals of audio technology, covers essential gear for beginners, explains setup processes, and shares practical tips for better sound. Whether someone wants to build a home studio or simply improve their listening experience, understanding these basics makes a real difference.
Table of Contents
ToggleKey Takeaways
- Audio technology converts sound waves into electrical signals for recording and reverses the process for playback through speakers or headphones.
- Beginners can start with essential gear: a microphone, audio interface, headphones or studio monitors, and quality cables.
- Setting up audio technology correctly involves positioning equipment, connecting your interface, configuring software settings, and testing input levels.
- Room acoustics significantly impact recording quality—add soft materials like rugs, curtains, or foam panels to reduce echo and reflections.
- Proper gain staging prevents distortion; aim for input levels peaking around -12dB to -6dB to maintain headroom.
- Learning basic editing skills in a DAW helps improve sound quality by removing noise, cutting mistakes, and normalizing volume levels.
What Is Audio Technology?
Audio technology refers to the tools, devices, and methods used to capture, process, store, and reproduce sound. This includes everything from microphones and speakers to digital audio workstations (DAWs) and streaming platforms.
At its core, audio technology converts sound waves into electrical signals. Microphones perform this conversion during recording. Speakers and headphones reverse the process, turning electrical signals back into sound waves that human ears can hear.
Analog vs. Digital Audio
Analog audio stores sound as continuous electrical signals. Vinyl records and cassette tapes use this format. Digital audio converts sound into numerical data, ones and zeros that computers can read and manipulate.
Digital audio technology dominates modern applications because it offers easier editing, storage, and distribution. File formats like MP3, WAV, and FLAC each balance file size and audio quality differently.
Common Applications
People use audio technology in many contexts:
- Music production: Recording, mixing, and mastering songs
- Podcasting: Capturing voice recordings for distribution
- Live sound: Amplifying performances at concerts and events
- Broadcasting: Radio, television, and streaming audio content
- Personal listening: Headphones, speakers, and home audio systems
Understanding how audio technology functions helps users make informed decisions about equipment and setup.
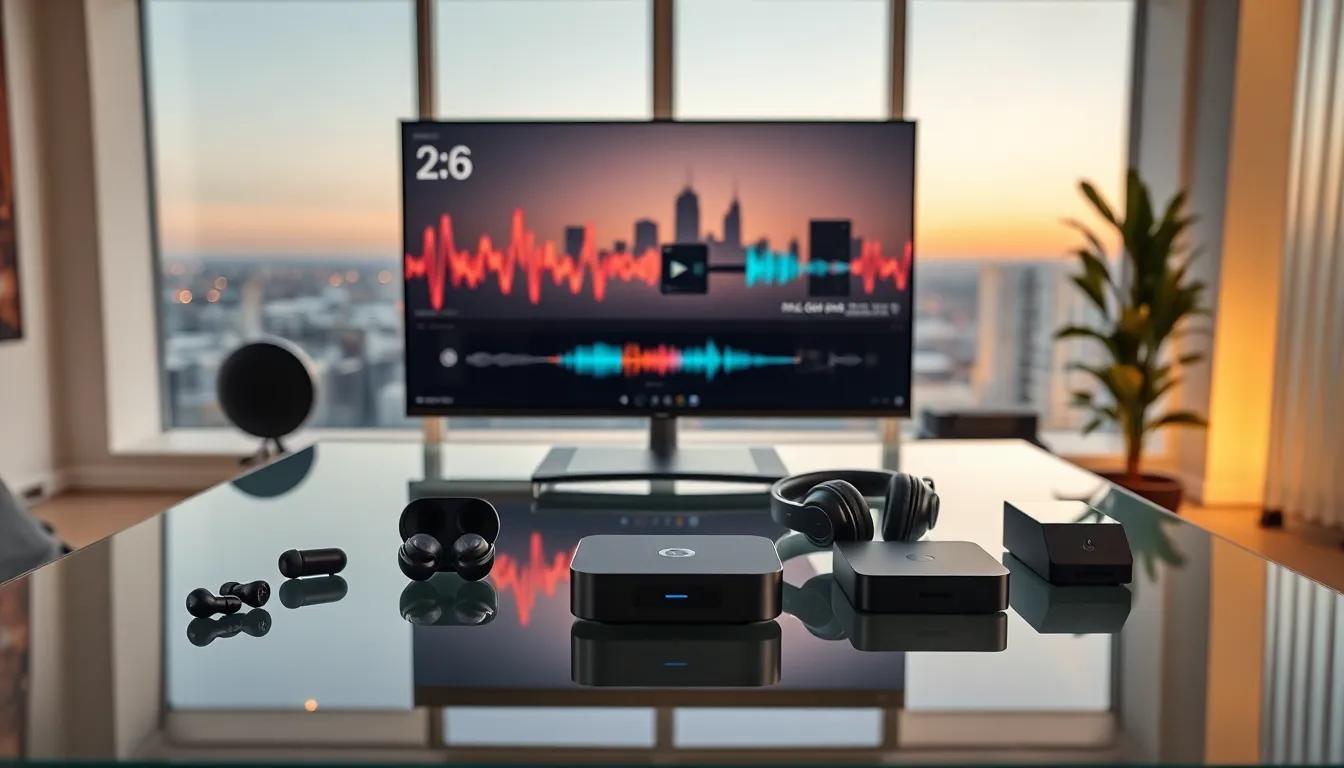
Essential Audio Equipment for Beginners
Building a basic audio setup doesn’t require expensive gear. Beginners should focus on a few key pieces of equipment that deliver good performance without overwhelming complexity.
Microphones
Microphones capture sound and convert it into electrical signals. Two main types dominate:
- Dynamic microphones: Durable and affordable. They handle loud sources well and don’t need external power. The Shure SM58 remains a popular choice for vocals and instruments.
- Condenser microphones: More sensitive and detailed. They require phantom power (usually 48V) from an audio interface. Great for studio vocals and acoustic instruments.
USB microphones offer a simpler option for podcasters and beginners. They plug directly into computers without needing an interface.
Audio Interfaces
An audio interface connects microphones and instruments to a computer. It converts analog signals to digital and vice versa. Entry-level interfaces from Focusrite, PreSonus, and Universal Audio cost between $100 and $200 and work well for home recording.
Headphones and Monitors
Accurate listening equipment matters for audio technology work. Studio headphones like the Audio-Technica ATH-M50x provide detailed sound for editing and mixing. Studio monitors (speakers designed for audio production) offer a flat frequency response, meaning they don’t artificially boost bass or treble.
Cables and Accessories
XLR cables connect professional microphones to interfaces. Quarter-inch cables work for instruments and some headphones. A pop filter reduces plosive sounds when recording vocals. A microphone stand keeps the mic stable and positioned correctly.
Buying quality cables prevents noise and connection problems later.
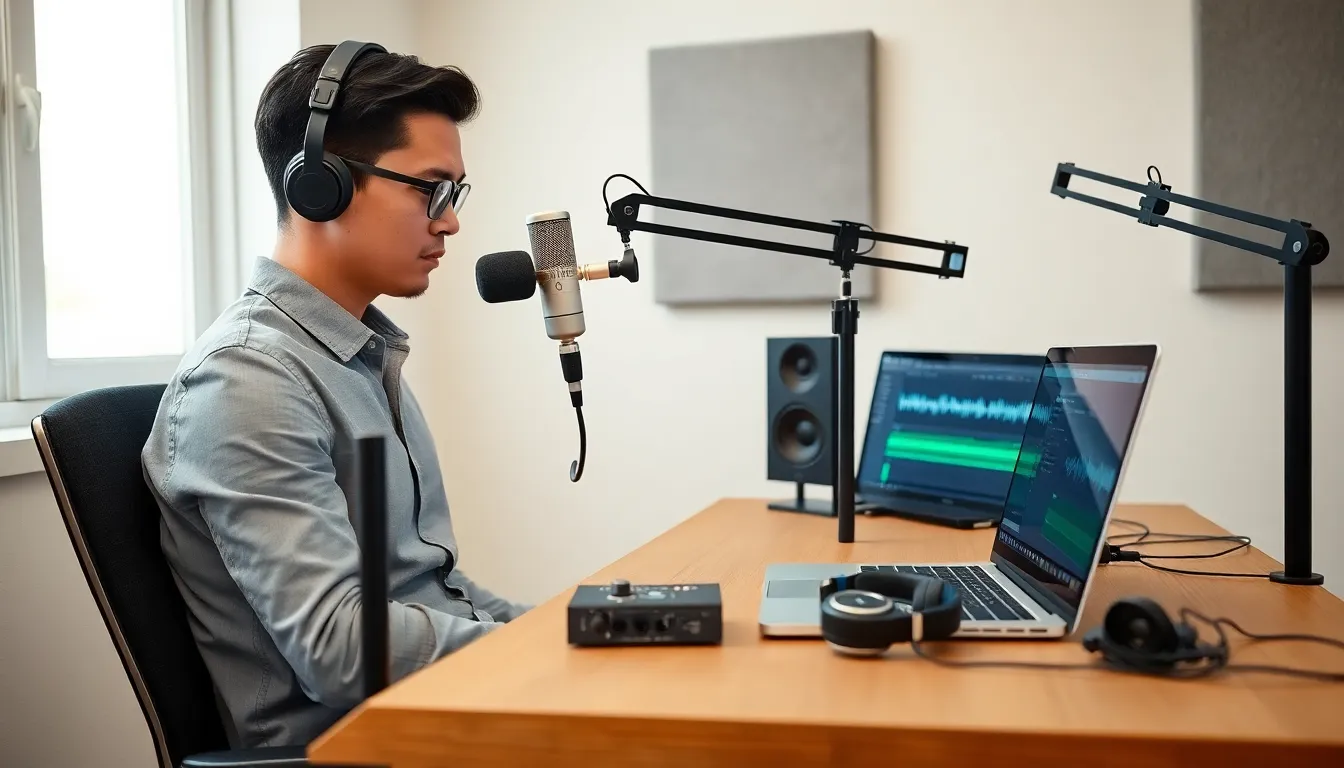
How to Set Up a Basic Audio System
Setting up audio technology correctly ensures better sound and fewer technical issues. Follow these steps to create a functional home audio setup.
Step 1: Position Your Equipment
Place studio monitors at ear level, forming an equilateral triangle with the listening position. Keep them away from walls to reduce bass buildup. If using headphones, ensure a comfortable fit without excessive clamping pressure.
Step 2: Connect Your Audio Interface
Plug the audio interface into the computer using USB, USB-C, or Thunderbolt. Install any required drivers, most modern interfaces work with native drivers on Mac, but Windows often needs manufacturer software.
Step 3: Connect Microphones and Instruments
Use XLR cables for condenser and dynamic microphones. Enable phantom power on the interface if using a condenser mic. Plug instruments like guitars or keyboards into the interface’s instrument inputs.
Step 4: Configure Software Settings
Open system audio preferences and select the interface as the input and output device. In a DAW (Digital Audio Workstation) like GarageBand, Audacity, or Reaper, configure the audio settings to recognize the interface.
Set the sample rate (44.1kHz is standard for music) and buffer size. Lower buffer sizes reduce latency but increase CPU load.
Step 5: Test and Adjust Levels
Speak or play into the microphone while watching input meters. Adjust gain knobs on the interface so levels peak around -12dB to -6dB. This leaves headroom and prevents distortion.
Test playback through monitors or headphones to confirm everything works.
Tips for Improving Sound Quality
Good equipment alone doesn’t guarantee great audio. These practical tips help users get better results from their audio technology setup.
Treat Your Recording Space
Room acoustics affect recording quality significantly. Hard surfaces create reflections and echo. Add soft materials like rugs, curtains, and foam panels to absorb sound. Even hanging blankets on walls helps reduce unwanted reflections.
Record in smaller, carpeted rooms when possible. Avoid spaces with parallel walls that create standing waves.
Use Proper Microphone Technique
Microphone placement changes the sound dramatically. For vocals, position the mic 6-12 inches from the mouth at a slight angle. This reduces plosives and breath noise.
For instruments, experiment with distance and angle. Moving a mic just a few inches can completely change the recorded tone.
Gain Staging Matters
Set appropriate levels at each stage of the signal chain. Too much gain causes distortion. Too little creates noise when you boost the signal later. Aim for healthy levels without clipping (the waveform hitting maximum and distorting).
Learn Basic Editing Skills
Even simple edits improve audio quality. Remove background noise, cut out mistakes, and normalize volume levels. Most DAWs include tools for noise reduction and EQ adjustments.
Invest in Good Cables
Cheap cables introduce noise and fail at inconvenient times. Balanced XLR cables reject interference better than unbalanced connections. Replace any cable that crackles or cuts out.
Keep Firmware and Drivers Updated
Manufacturers release updates that fix bugs and improve performance. Check periodically for new versions of interface drivers and DAW software.